
Low-Resource Prosthetic Devices for a Bilateral Amputee
# Low-Resource Prosthetic Devices for a Bilateral Amputee: Combining a Thermoformed Water Bottle Socket with a 3D Printed End Effector
---
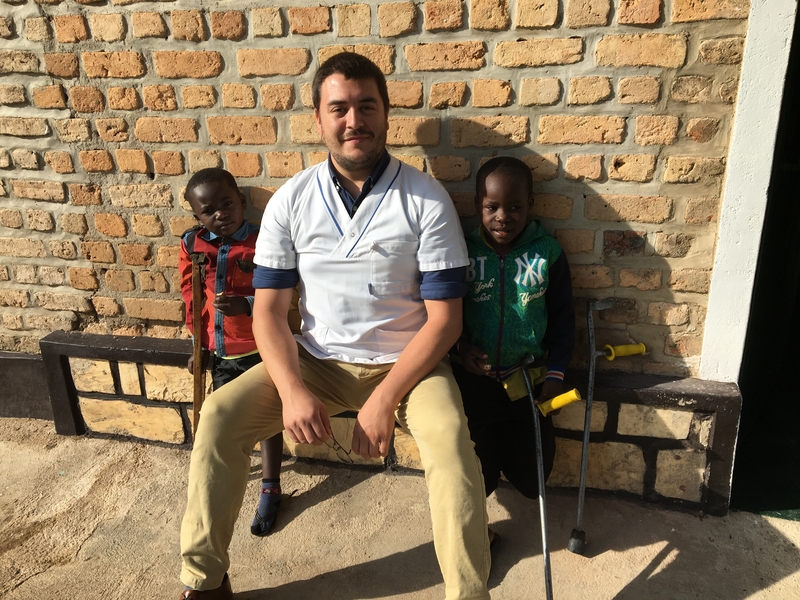
A patient came to LVDC accompanied by a liaison that helps to transport those in need from his village to LVDC for treatment. At 16 the patient came across a downed high-voltage electrical wire and was electrocuted. The trauma resulted in the loss of both of his arms above the elbow, as well as one of his legs at the knee. Now 18, he relies on his family to help him perform most tasks, and hasn’t been able to participate to his full potential in school. The P&O team and I discussed options, and I was given the final say on which approach to take.
We decided that we would make him a set of fast, low-resource prosthetic devices until such time that the P&O department could fit him with a more robust, traditionally-made prosthetic. We chose to thermoform 1.5 L water bottles around plaster casts of the patient’s residual limbs, and 3D print a simple end effector to hold a utensil for eating. We determined that the residual limb on his right side was a length that would allow the use of a utensil in a fixed position, angled inward.

###### Left: a 1.5 L plastic water bottle being held up to the patient’s residual limb. Right: A rough sketch of the proposed prosthetic device.
---
### Casting of the Residual Limbs
I’ll be covering the full processes of taking casts of residual limbs in another write up. In brief, the patient removed his shirt and was draped with a plastic sheet to keep plaster off of his pants and torso. Petroleum jelly was applied lightly to both residual limbs, and each were wrapped with water-soaked plastic bandages and the plaster was allowed to set. The negative casts were removed from the limb by carefully cutting down one side with a razor, perpendicular to a series of horizontal lines drawn in skin pencil. The horizontal lines were for reference to ensure the seam of the cast can be closed and aligned properly later.

Contours and measurements taken from the patient were sketched into the inside of the plaster cast with a skin pencil, followed by skirting the cast with additional plaster bandage to make the rim of the opening even. Petroleum jelly was applied lightly to the inside of the negative cast, and a liquid plaster mixture was poured in. A metal bar was positioned within the cast, now serving as a mold, for ease of handling after the plaster positive cures and is removed from the mold. The plaster positive took approximately 45 minutes to fully cure, and was removed by cutting away the negative mold that surrounded it.
After post-processing the plaster positive, a 1.5 L plastic bottle was cleaned and dried. The bottom of the bottle was cut off leaving the neck and mouth of the bottle intact. Enough bottle should be left over to extend slightly beyond the skin pencil line marking contour of the patient’s residual limb, which should have transferred from the negative cast to the positive cast. The bottle is slowly heated with a heat gun, making the plastic contract and conform to the contours of the plaster cast. As the plastic shrinks around the cast, it becomes thicker and sturdier.
A handheld electric saw is used to cut the plastic bottle at the contour lines on the plaster cast, giving the socket its final shape.

###### Rajab Hamis demonstrates the steps necessary to thermoform a plastic bottle around a plaster cast of a patient’s residual limb.
---
The lip of the thermoformed socket is sanded down to smooth over any sharp edged of burrs.


### Testing the Prosthetic Device
After working on the prosthetic device for the majority of the day, we bought the recipient a meal of rice and beans from a nearby food shack. The 3D printed end effector required several rounds of thermoforming to properly hold the spoon at an appropriate angle. After a few minutes of practice, he was able to scoop food onto his spoon and get the spoon to his mouth. He was able to do this again and again, with little outside help. We are very proud to say that he was able to feed himself with dignity that day for the first time in two years.

###### The patient testing his new low-resource prosthetic device over a plate of rice and beans
After our meal, we tested attaching a Hosmer hook to the thermoformed socket. We ran a line from the Hosmer hook, around his back, and to a makeshift harness secured to the opposite shoulder. In this simple test, he was able to open and close the hook providing proof-of-concept for attaching more sophisticated end effectors to this style of socket.

The final step of the creation of this low-resource prosthetic device was to finish adhering PVC leather to the outside of the socket. Cosmesis is very important to patient’s in this part of the world and Rajab does his best to accommodate.
### e-NABLE Community Calls to Action
Upper limb prosthetic sockets made from thermoformed plastic bottles are not ideal, but in a low-resource area they may be sufficient. It seems clear to me that the e-NABLE community could do good for the world by creating a line of 3D printable end effectors that could be glued or otherwise adhered to a standard twist-on bottle cap. The built-in feature of the bottle cap screwing onto the bottle allows for the possibility of presenting a recipient with a range of effectors that can pair with their socket, and provide the recipient with new tools in the future as they are developed.
Peter Odama ·