
e-NABLE Phoenix Hand v3
---

To learn about what each of the above icons represents, please refer to the [Device Ratings Guide](wiki:/s/e-nable-devices/wiki/129/device-ratings-guide "Device Ratings Guide").
---

**Designer:** Jason Bryant, John Diamond, Scott Darrow, Andreas Bastian, [Team Unlimbited](http://www.teamunlimbited.org/), [e-NABLE France](https://e-nable.fr/), and Jeremy Simon.
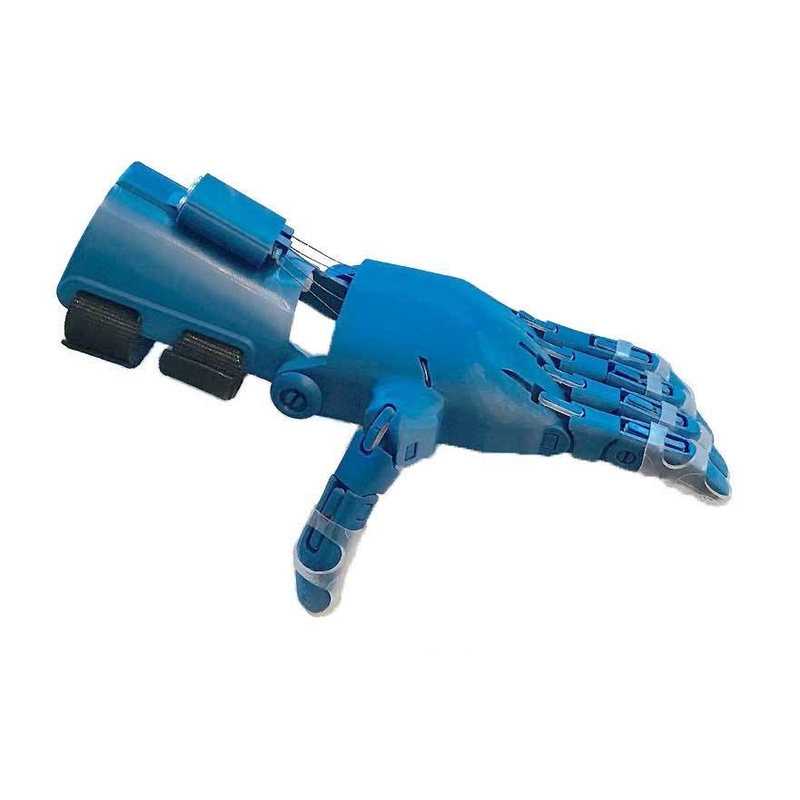
**Description:**
This is a wrist-powered device. To use this design, the user must have a functional wrist and enough palm to push against the device to force the fingers closed when wrist is bent. For more information, see the [Which Design?](wiki:/s/e-nable-devices/wiki/29/which-design#null "Which Design?") page.
This is a remix of the excellent Phoenix Hand v2 and Unlimbited Phoenix Hand.
When using this design for e-NABLE hand assembly workshops, we found that people had difficulty telling the different pins apart. There are six different sizes of pins used in various places throughout the hand, and it can be difficult to distinguish some of them visually. This modified version includes labels on the ends of the pins to help identify them.

Please refer to these printable assembly instructions for details about the pin labels (see letters to the left of each pin in the upper left diagram on page 1). The document is provided in both a left-hand and right-hand version. This way, you can print it out on double-sided large format paper and use it as a reference during assembly. The diagram on the first page/side can be used to layout the parts, and the step-by-step instructions on the second page/side can be used as a reference during assembly.
---
**STL Files:** [Link](https://www.thingiverse.com/thing:4056253)
**Source CAD Files:** [Fusion 360](https://drive.google.com/file/d/1qx0fiyRWsWuBEkarxo6ouOUqkIWclckO/view?usp=sharing), [STEP](https://drive.google.com/file/d/1qt4fIh77aN9F0LTXMMZCiVgzgbxBcUQ3/view?usp=sharing)
**Instructions:** Printable placemats for [left hand](https://drive.google.com/file/d/1caYKGoE5w9RL3n52ls-7htutYQ34OLoD/view?usp=sharing) and [right hand](https://drive.google.com/file/d/1caT-qSH-01H-uLoA75pY2E4LHxce84tP/view?usp=sharing) (useful for hand assembly events - print on large format paper, such as 11x17”, double-sided)
**Assembly Materials Kit:** [Link](https://shop3duniverse.com/collections/3d-printable-kits/products/phoenix-hand-by-e-nable-assembly-materials-kit)
**Video Tutorials:** [Video 1](https://youtu.be/CXoVSTgzyec), [Video 2](https://youtu.be/OwjOn18uO1I), [Video 3](https://youtu.be/hbbcIcnHv2w)
**e-NABLE Device Color Customizer:** [Link](https://bymu.eu/customizer/?device=unlimbited-phoenix-hand)
Rasna Mantha ·
Jonathan Hoogeveen ·
Amelia K ·
John O'Brien ·
Jonathan Hoogeveen ·