
Exporting .STL files from OpenSCAD
## Why use OpenSCAD and not regular .STL files for devices?
OpenSCAD is a powerful, free and open source modelling tool that allows making adaptable, **parametric** models.
This allows a few user provided **parameters** (in this case measurements taken from a recipient) to be used to **automatically** and **intelligently scale parts** to match the recipient ready for printing, instead of ***manually*** scaling and adjusting parts using photo references in 3D software.
You can download OpenSCAD from their homepage [https://www.openscad.org/downloads.html](https://www.openscad.org/downloads.html)
## The interface
OpenSCAD can be intimidating for first time users, however we only need to focus on a few key areas, specifically **Model/Device Parameters**, **Preview Window** and **Shortcuts**.

## Parameters and measurements
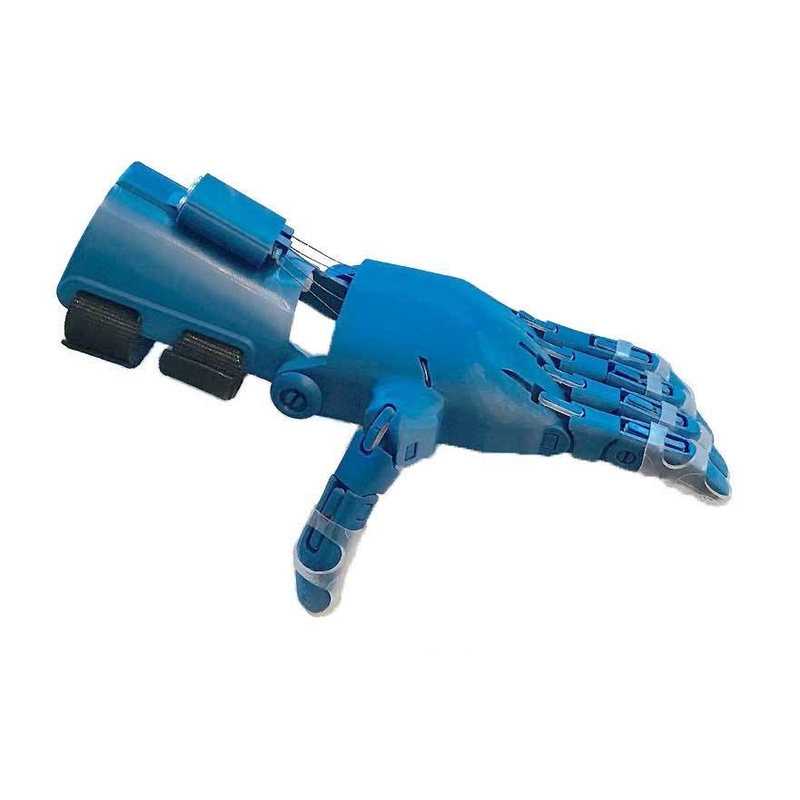
Make sure to follow instructions for the device you’ll be manufacturing as measurements and parameters will be different. For this example we’ll be using the [Unlimbited Arm v2.1](wiki:#). The instructions show us to measure these 3 areas of the recipient.
> \
> \
> The length of the NON-AFFECTED hand as measured from the wrist to the end of the longest finger. Shown in the Diagram as **measurement C**.
>
> The length of the NON-AFFECTED forarm as measured from the inside fold of the elbow to the wrist. Shown in the Diagram as **measurement B**.
>
> The circumference of the AFFECTED upper arm, measured from the middle of the upper arm; Shown in the Diagram as **measurement A**. TAKE NOTE thats the AFFECTED arm you are building a device for not the NON-AFFECTED arm the other measurements are taken from.
## Using measurements in OpenSCAD
Let’s assume we’ll be making a **left** handed device and our measurements are:
**A** - `200`\
**B** - `215`\
**C** - `165`
We choose the **Left** arm option and input our **measurements** in the **Parameter window**. As you’re inputting measurements you will notice changes to the model in the Preview Window.

If the device you are making does not have all options listed in the **Parameter window**, you can manually enter values in the **Text Editor**.

## Exporting a part to .STL
In order to create a 3D model ready for printing, we first have to **Render** the part. This process will create the final geometry and model. This process will take some time, the progress will be visible in the lower right hand corner of OpenSCAD.

After OpenSCAD is finished rendering the part you can then export the correctly sized, adjusted and scaled part to a printable format.

## Exporting all parts
You will then need to repeat the **Render** and **Export to STL** process for each part until you have saved all parts. If the part selection dropdown is not available in the **Parameter window**, use the **Text Editor** to change the part you wish to **Render** and **Export**.

## Conclusion
Here are a few side by side examples of a part exported with default parameters and one with the example parameters in this guide. You will notice how certain parts are larger/longer but others are unchanged, for example holes for straps or holes for bolts are unchanged, meaning you can use the same hardware for larger or smaller devices. This is the power of parametric design.


## Other references
[Jeremy Simon](mention:fdee1b60-53e9-43bf-9915-dd82e48c1776 "/u/jesimon/") has made a video guide on how to use OpenSCAD [https://www.youtube.com/watch?v=N_RBDmdXoT4](oembed:https://www.youtube.com/watch?v=N_RBDmdXoT4)
Connie Marchek ·
John Mills ·